
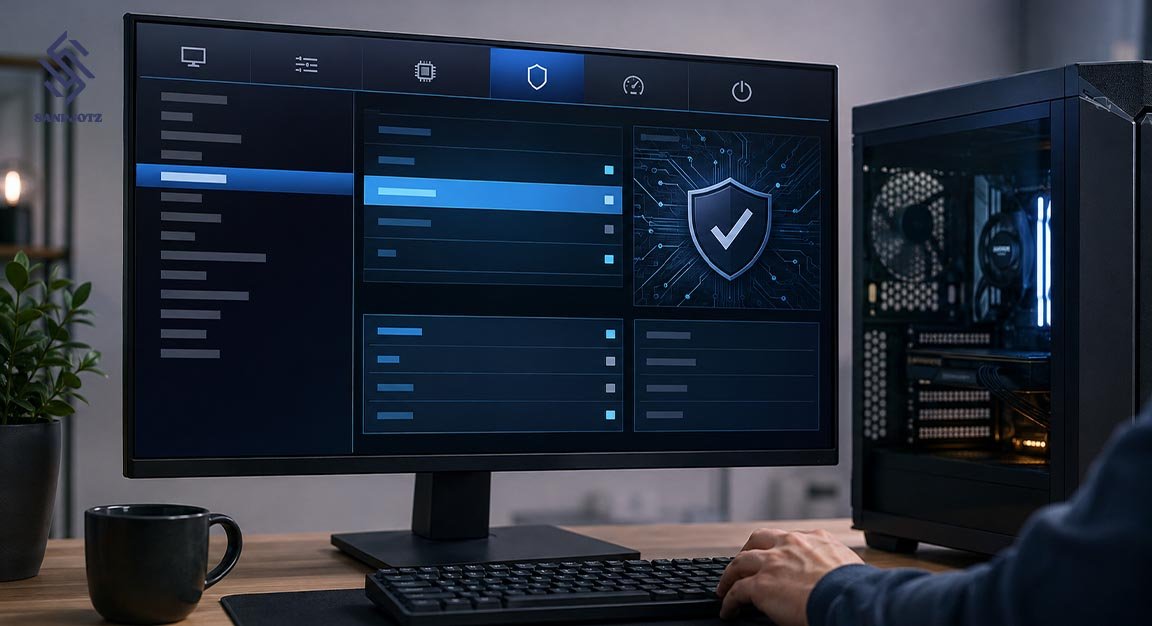
Enable TPM 2.0 in UEFI BIOS Step by Step
If your PC cannot install Windows 11 or shows a TPM warning, the required security feature may simply be turned off. This guide explains how to Enable TPM 2.0 safely through the UEFI BIOS, how to find the correct setting on Intel and AMD systems, and how to confirm that Windows can use it. You will also learn what to check before changing firmware settings and how to solve common TPM problems.
What TPM 2.0 Is and Why It Matters
TPM means Trusted Platform Module. It is a security feature that protects encryption keys, login details, certificates, and other sensitive information. Windows uses it with BitLocker, Windows Hello, device encryption, and other security tools.
TPM 2.0 may be a separate chip on the motherboard, but many modern computers use firmware-based TPM. On Intel systems, it is often called Intel PTT. On AMD systems, it may appear as AMD fTPM, AMD CPU fTPM, or AMD PSP fTPM.
How to Check Whether TPM 2.0 Is Already Enabled
Before opening the BIOS, check the TPM status in Windows. Press Windows + R, type tpm.msc, and press Enter. In the TPM Management window, look for the message “The TPM is ready for use.” Then check Specification Version. It should show 2.0.
You can also open Windows Security > Device security > Security processor details. If Windows says that no compatible TPM is found, do not assume your PC lacks the feature. It may only be disabled in the BIOS. This is a common reason users search for how to enable tpm 2.0.
What to Do Before Changing UEFI BIOS Settings
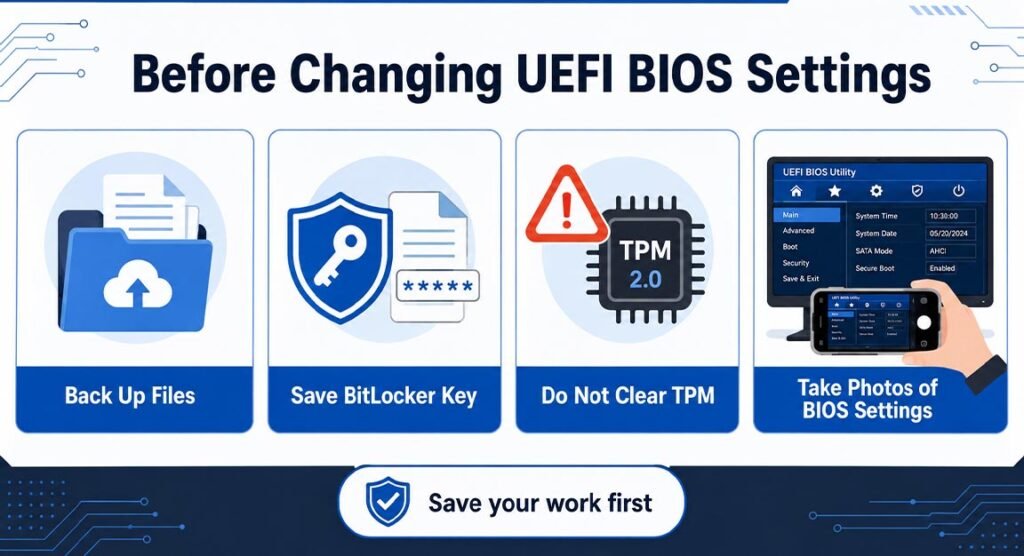
Before you Enable TPM 2.0, save your work and back up important files. If BitLocker or device encryption is active, find and save your recovery key. A major BIOS change can sometimes make BitLocker request this key during the next startup.
Do not select Clear TPM, Reset TPM, or Erase TPM. Enabling TPM is not the same as clearing it. Clearing can remove protected security keys and may affect encrypted drives, Windows Hello, certificates, and work accounts. Taking photos of your current BIOS settings is also a good safety step.
How to Open UEFI BIOS in Windows
In Windows 11, open Settings > System > Recovery. Under Advanced startup, select Restart now. After the computer restarts, choose Troubleshoot > Advanced options > UEFI Firmware Settings > Restart. Your PC should open the UEFI BIOS screen.
You can also enter the BIOS with a startup key. Common keys include Delete, F2, F10, and Esc. ASUS and MSI motherboards often use Delete, Dell usually uses F2, and HP often uses Esc followed by F10. Press the correct key several times as soon as the PC starts.
How to Enable TPM 2.0 on Intel PCs
On an Intel computer, enter Advanced Mode in the BIOS. Open a menu such as Security, Advanced, Trusted Computing, or PCH-FW Configuration. Look for Intel PTT, Platform Trust Technology, or Security Device Support.
Set the option to Enabled, save your changes, and restart the computer. If the BIOS asks you to choose between firmware and discrete TPM, select Firmware TPM unless a compatible physical TPM module is already installed. This is the normal method for how to enable tpm 2.0 in bios on an Intel PC.
How to Enable TPM 2.0 on AMD PCs
On an AMD computer, open Advanced, Security, Trusted Computing, or AMD fTPM Configuration. Find AMD fTPM, AMD CPU fTPM, or AMD PSP fTPM, and change the setting to Enabled.
Some motherboards show a setting called TPM Device Selection. Choose Firmware TPM or AMD CPU fTPM, then save and restart. This method allows you to Enable TPM 2.0 without buying a separate security module on most supported AMD systems.
Where to Find TPM Settings on Popular PC Brands
On ASUS, Intel users may find PTT under Advanced > PCH-FW Configuration. AMD users may see Advanced > AMD fTPM Configuration. On MSI, check Settings > Security > Trusted Computing. Gigabyte users should look under Settings, Peripherals, or Trusted Computing.
On Dell, open Security > TPM 2.0 Security, Intel PTT Security, or AMD fTPM. HP may use TPM Embedded Security or System Security. Lenovo often uses Security Chip, Intel PTT, or AMD fTPM. Menu names can change between computer models and BIOS versions.
How to Save Changes and Verify TPM 2.0
After you Enable TPM 2.0, choose Save Changes and Exit. The shortcut is often F10, but you should check the command shown on your BIOS screen. Do not choose Exit Without Saving, because the TPM setting will return to its previous state.
After Windows starts, press Windows + R, type tpm.msc, and press Enter. Confirm that the TPM status says it is ready for use. The specification version should be 2.0. You can also check Device Manager > Security devices for Trusted Platform Module 2.0.
How to Fix Missing or Undetected TPM 2.0
If the TPM option is missing, switch from Easy Mode to Advanced Mode. Search for PTT, fTPM, Security Device Support, Firmware TPM, or Trusted Computing. You should also check whether your BIOS needs an update.
Download BIOS updates only from the official support page for your exact computer or motherboard model. Using the wrong BIOS file can stop the PC from starting. Keep a laptop connected to its charger and never turn off the computer during a firmware update.
If Windows still cannot detect TPM, shut the computer down completely, wait about one minute, and start it again. Return to the BIOS and confirm that the setting was saved. If Discrete TPM is selected but no physical module is installed, change it to Firmware TPM.
Older computers may support only TPM 1.2 or may not support TPM at all. Enabling the BIOS setting also does not guarantee Windows 11 compatibility. Your PC must still meet processor, memory, storage, UEFI, graphics, and Secure Boot requirements.
TPM 2.0 and Secure Boot Are Different
TPM 2.0 and Secure Boot are separate security features. TPM protects encryption keys and identity information. Secure Boot checks trusted software before Windows starts and helps block unapproved startup programs.
A computer can have TPM enabled while Secure Boot is disabled. Do not change Legacy Boot, CSM, storage mode, or disk settings unless you understand what they do. An incorrect boot or storage setting can stop Windows from loading.
In Short
To Enable TPM 2.0 correctly, use Intel PTT on an Intel system or AMD fTPM on an AMD system. Save your BitLocker recovery key first, avoid the Clear TPM option, and verify the result with tpm.msc after Windows starts.
These steps help Windows use stronger security features and may solve TPM warnings during a Windows 11 check. Always follow the instructions for your exact computer or motherboard model because BIOS menu names can be different.
FAQs
Does enabling TPM 2.0 delete files?
No. Turning TPM on should not delete personal files. However, clearing or resetting TPM can affect encrypted data and stored security keys.
Is Intel PTT the same as TPM 2.0?
Intel PTT is Intel’s firmware-based TPM technology. On compatible systems, it provides the TPM 2.0 functions required by Windows.
Is AMD fTPM the same as TPM 2.0?
AMD fTPM is AMD’s firmware TPM technology. On supported computers, it provides the TPM 2.0 features needed by Windows.
Do I need to buy a TPM module?
Usually, no. Most modern Intel and AMD systems include firmware TPM. Buy a physical module only when your motherboard supports the exact module and firmware TPM is unavailable.
Why does Windows 11 still show an error?
TPM is only one Windows 11 requirement. Your computer may also need a supported processor, UEFI mode, Secure Boot capability, enough memory, and enough storage.